It has been a while since I posted on here, but I have continued building through this silence. Last week I put strings on a new guitar. This new guitar is particularly exciting to me because it is going to stay with me—finally I have managed to build myself a full size guitar. Because I was building for myself, I had the opportunity to do a lot of experimenting. I needed it to serve a few very particular functions, and I will use this post to detail these features, functions, and my thought process behind each choice.
My justification for building this guitar is that it will be a part of my 2nd CD project (In The Night—coming spring 2021). I have received generous funding support from both the Ontario Arts Council and the Canada Council for the Arts for this project to cover building, recording, and commissioning costs. My justification for building a guitar specifically for a CD recording is that I am working closely with 3 composers to create 3 new works for the guitar. Two of those pieces require a fretless instrument, one a standard fretboard. One piece requires a crazy inlay on the fretboard, and another uses a pickup and loop pedal.
I also wanted this instrument to work as a guitar for chamber music, so I wanted to have the ability to plug the guitar into an amplifier. Finally, I wanted this guitar to travel easily, so I needed a way for the neck to come off so that I can fit it into a standard sized carry-on suitcase. I find airline travel with a guitar to be incredibly stressful, so this should calm my nerves.
The basics
Before delving into the weird things about this guitar, here are a few basic specs.
Guitar No. 019 (yes, this one has been going on for a while, hence the out of order numbering)
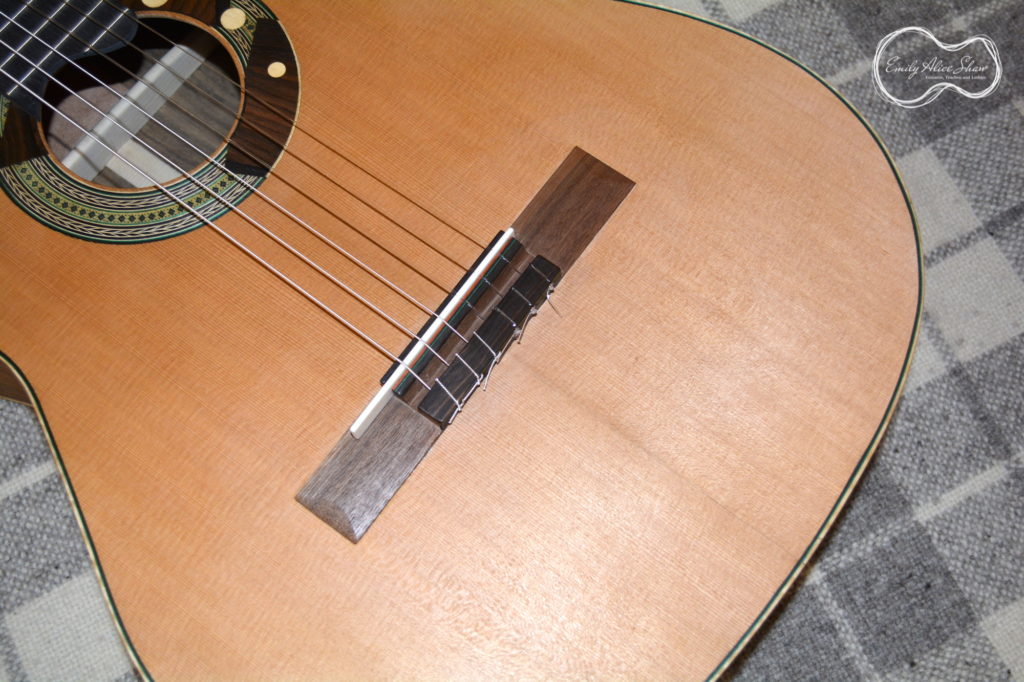
Soundboard: Cedar
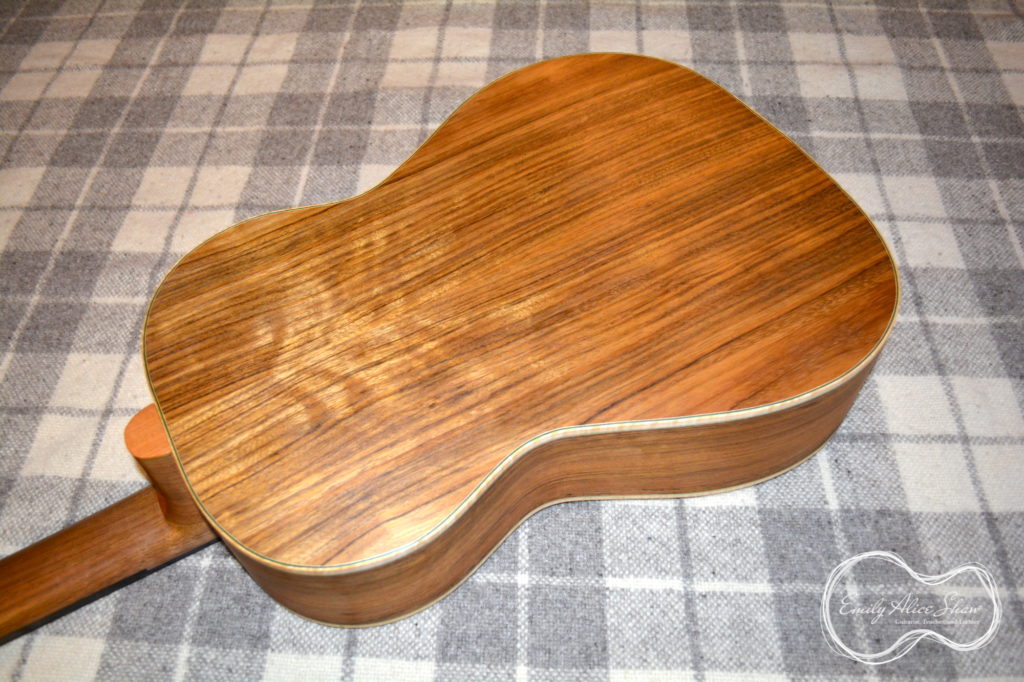
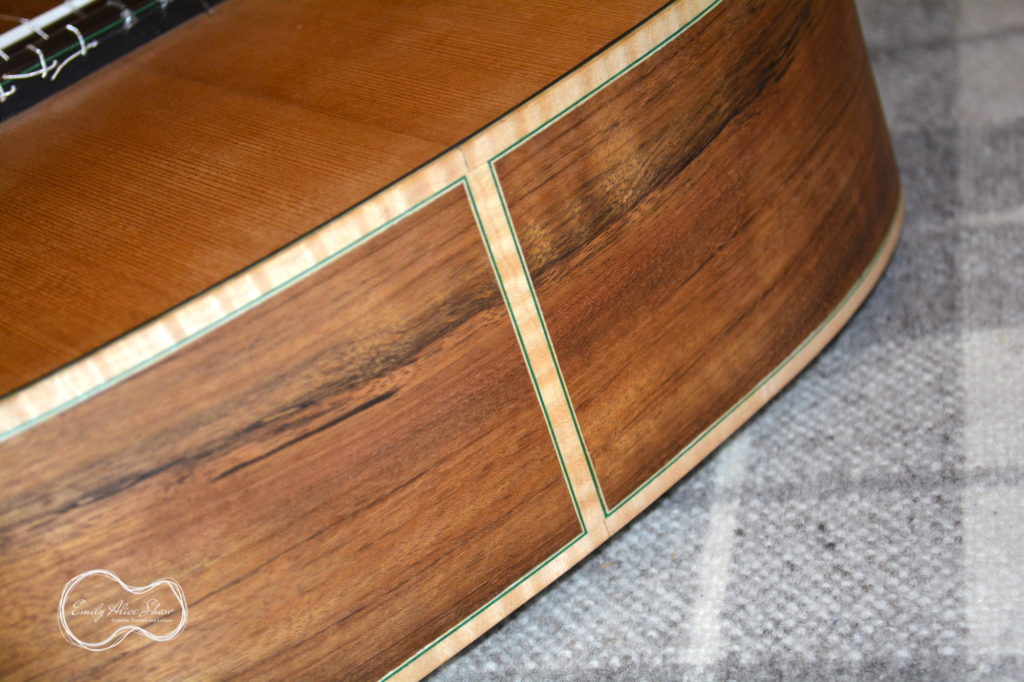
Back and sides: Ovangkol
Neck: Walnut
Bracing style: lattice
String length: 630mm
Knock-down neck construction
First, the removable neck. This was fairly easy to figure out—just make a bolt-on neck, and bolt it on from the outside. Most of the time I build Spanish-heel instruments where the sides slot into the heel, but I have built a couple of steel-string guitars with bolt-on necks in the past. This time I used the bolt-on neck inserts from Luthier’s Mercantile, which you can find here. I installed the inserts before gluing the sides to the end block so that they would be concealed and secure within the guitar.
The heel shape is slightly different than a standard guitar in order to allow room for the bolts and to be strong enough to support the neck.
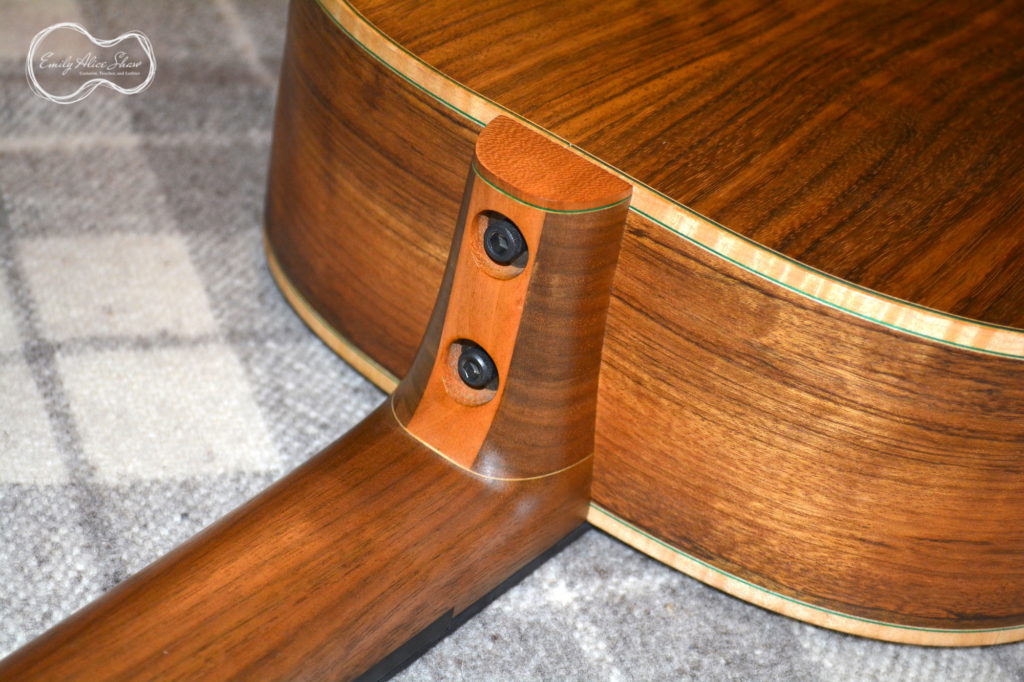
The neck is quickly and easily removed and installed with a hex-key (strings must be removed or at least loosened before removal).
The neck is made of 3 pieces of walnut laminated together for strength (and also to make use of wood that I already had). I inlayed a carbon rod in the neck for strength and stiffness as it would have to stay perfectly straight. I thought that this would be particularly important because of the next feature, interchangeable and impermanent fingerboards.
Multiple fingerboards
The next oddity about this guitar is that I wanted a flexible instrument that could play in different temperaments and that could be fretless for some of the more avant-garde music that I like to play. I decided that I would use rare-earth magnets to attach the fingerboards to the guitar so that switching them would be easy. It has worked really well! The fingerboards slide in and out without any need to remove strings.
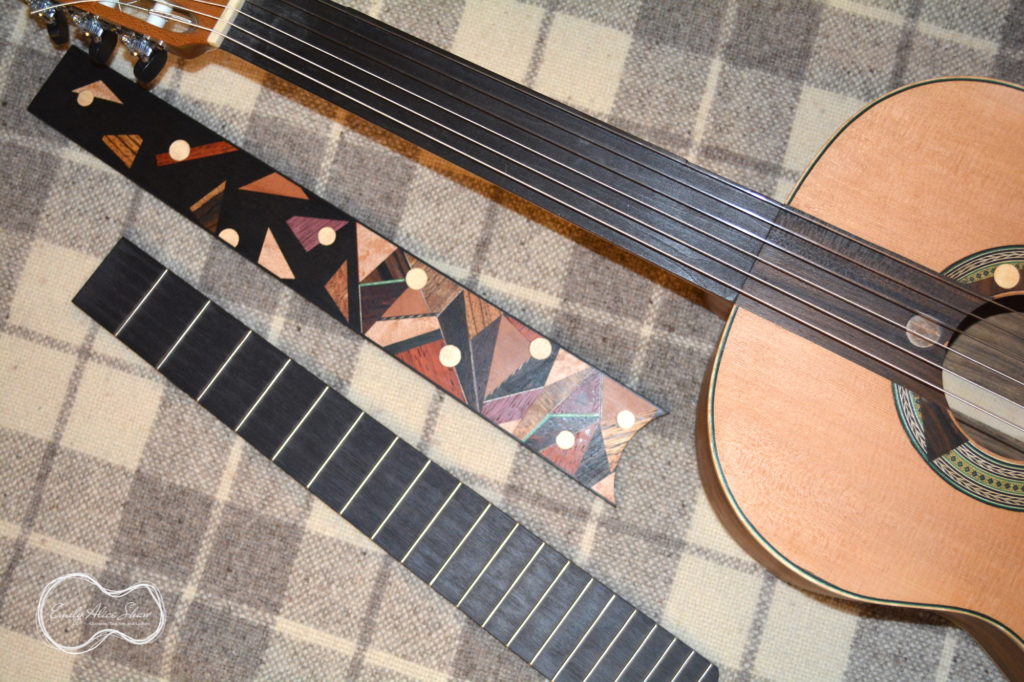
There are three 3/4 inch magnets inlayed into the neck (or two in the neck, one in the soundboard near the soundhole) and a strip of sheet metal in the back of each fingerboard.
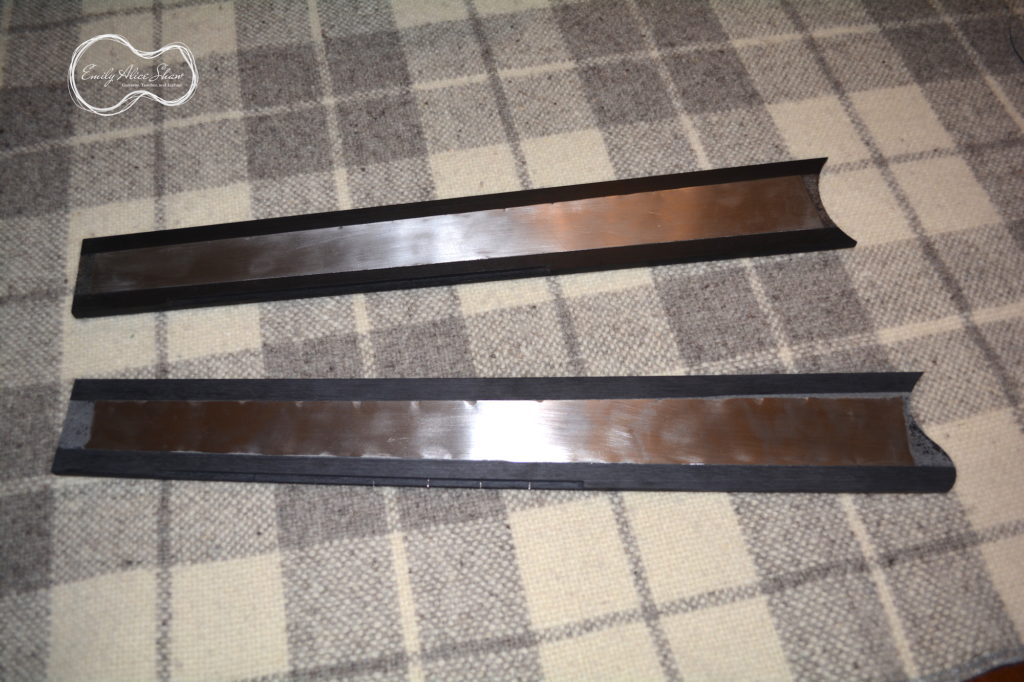
I also installed a strip of leftover carbon rod to the treble side of the neck to act as a stop-block and aligner for the fingerboards. A matching recess is routed into each fingerboard. This prevents the fingerboards from sliding out of place while playing and makes the switching process even easier.

The inlayed fingerboard
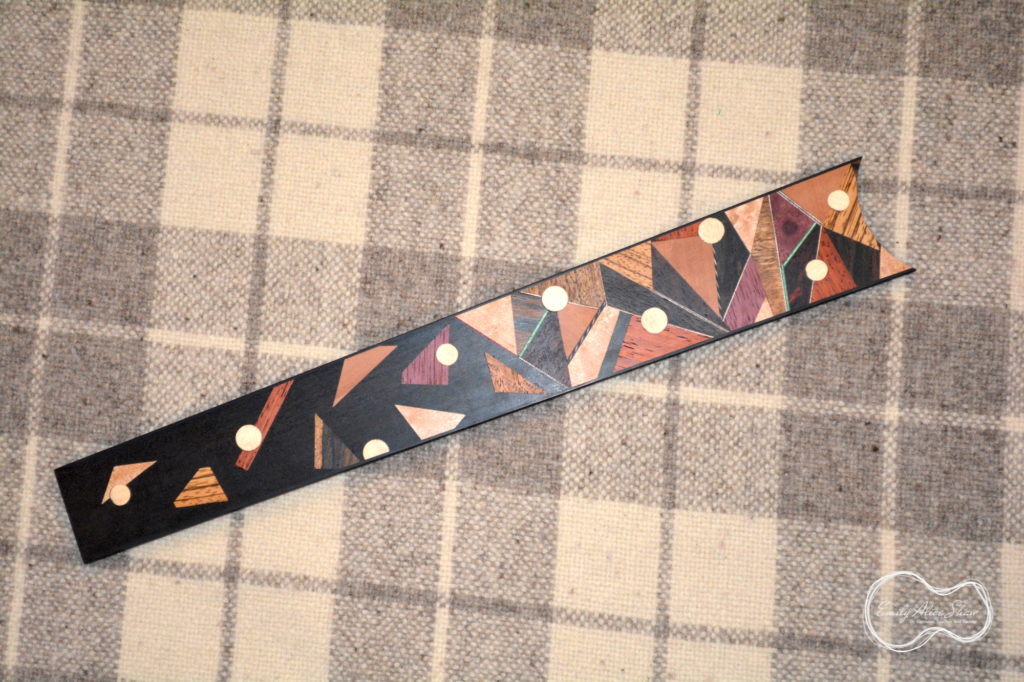
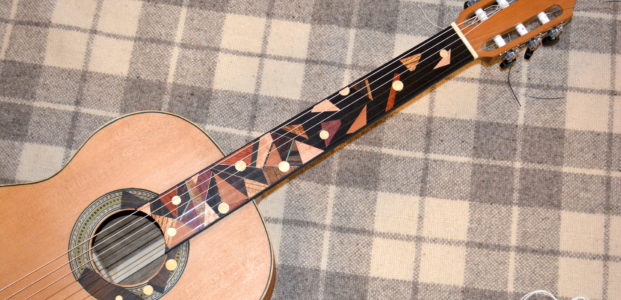
Although I do not yet fully understand it, one of the pieces that is being written for me will have some extra-musical elements to it in the form of virtual images that will be triggered by the location of my fingers on the fretboard. In order to activate this software, I had to inlay something fairly complex and irregular into a fingerboard. Here is the result:
What is left?
I still have to install the pickup and have a few other bits and pieces to fiddle with. I think that I will be adjusting the bracing (without removing the top—stay tuned for that process) in order to improve the tone of the guitar. This guitar currently has pretty wonderful, warm basses, but the treble sound is lacking enough to bother me. I am also planning to thin the neck profile a bit as I have been finding it a bit chunky over the last week of playing. Finally, I have yet to finish the guitar beyond a quick shellac sealer coat. I have not yet decided whether I will French polish this guitar or whether I will use something a little bit quicker and less finicky. The beautiful thing is that I don’t have to make that decision quite yet. I can continue to play around and experiment with this guitar as long as I like because it is mine! I will probably also be making more fingerboards as I expand my interests into more varied styles.


Brilliant idea on the swappable fretboards! How much force is required to remove them?
Not much force at all—the 3 magnets seem to hold the fingerboards in place securely, but removing them is quick and just requires a light push. The strings can stay in place as well while switching, which is really handy.
Congratulations! Can’t wait to hear it!
Thanks, Louise!